| A1 Electric Automotive Accessories |
| Installing Power Windows in a Toyota Tacoma |
| ONLINE CATALOG & APPLICATION GUIDE |
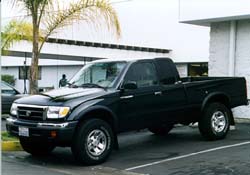
| The Toyota pickup came with almost everything. It even came with a full leather interior. The only thing missing was power windows. With a little help from A1 Electric , the truck is now complete. |
|---|
|
|
The Toyota Tacoma is a great truck. However, most of the trucks produced don't come with power windows. With a little help from the professionals at A1 Electric, this truck will soon be complete. |
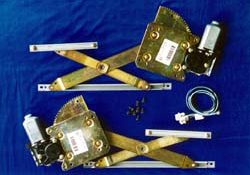
| The A1 Electric TY88-K power window kit makes a perfect addition to these trucks. These kits completely replace the manual units for a fit and finish that says original equipment. |
|
|
|
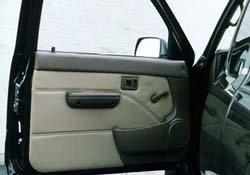
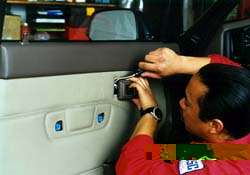
The door panels on this particular truck are finished in leather, so our installer is going to be especially careful not to scratch or damage them. |
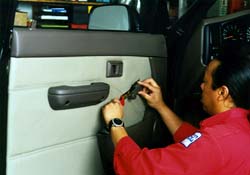
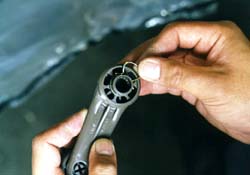
| To remove the crank handle you must remove the clip from it's slot. A clip remaoval tool works best, but a small screwdriver or hook can also be used. |
|
|
|
This is what the clip looks like after it has been removed. Care must be taken not to scratch the doorpanel! |
| The remainder of the trim needs to be removed before removing the doorpanel. |
|
|
|
Carefully pry up the clips along the edges of the doorpanel using a doorpanel tool (We like to use a paint scraper with the blade slightly bent). Lift the panel up and out. |
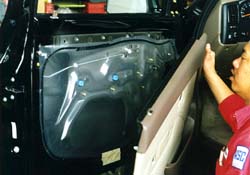
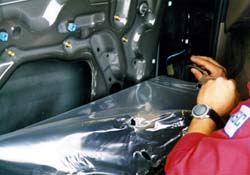
| After removing the speaker (if equiped), carefully peel the plastic liner away from the door. (Sharp tugs will help seperate it from the tacky tape that holds it). |
|
|
|
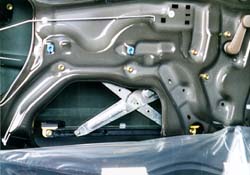
Notice that the manual regulator is held into the door with 5 bolts. 2 other bolts hold the regulator to the glass. The bolt heads are gold in color. |
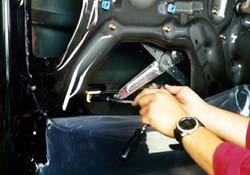
| Move the window to make the bottom of the glass accessable. Then remove the 2 bolts holding the regulator to the glass. Have an asistant hold the glass while you are doing this. Broken glass is no fun! |
|
|
|
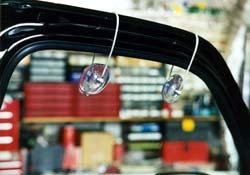
We used a pair of suction cups to hold the glass out of the way. Masking tape or a tireless assistant also work fine. |
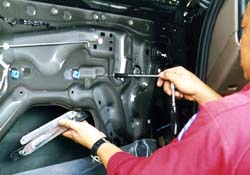
| At this time our installer removes the 3 remaining bolts that hold the regulator to the door. |
|
|
|
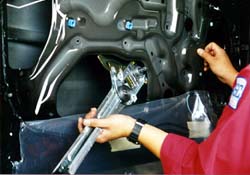
The manual regulator is now ready to be removed from the door. |
| This concludes the first phase of the installaton,
the "taking apart" phase. The "installation" phase of this project
is shown in part 2 and 3. See part 2 to continue. PART 2 |
A1 Electric Automotive Accessories
Local (310) 328-8500 Toll Free (888) 838-0506
Contact A1 Electric by Email