| Although power windows are a standard option on todays newer cars, they existed on only a few luxury cars 30 years ago. With the custom fit power window kits manufactured by Electric-Life, anyone can have power windows in their vehicle. Follow along as we install power windows on a 1972 Chevy Pickup Truck. |
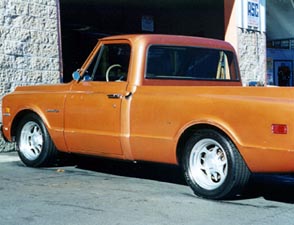
Adding power windows to the 1972 Chevy pickup was one of the first things on a long list of restoration projects slated for this pickup truck. When this truck is complete, it will have air conditioning, power brakes, power steering, a new interior and a custom paint job. Doing the mechanical stuff before the fluff and paint is always a wise choice. The installation was done at A-1 Electric & Speedometer in Gardena, California.
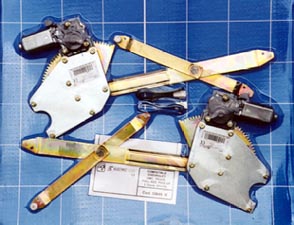
The power window kit that we are using is the Electric-Life GM49-K. This kit fits 1967 through 1972 Chevy Trucks. Electric-Life regulators, unlike some of the other kits on the market, bolt up to the original regulator mounting holes without the need to make large access holes in the door. These kits look and fit like they are an original equipment accessory. Electric-Life makes a full line of custom fit power window kits, each kit fitting a single application perfectly.
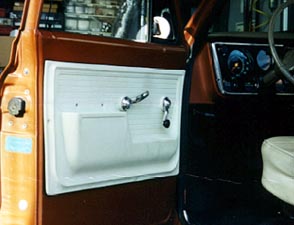
The first step in installing the window kit is to remove the handles and the door panels. With the panels removed check to make sure the door is structurally sound and the glass channel is attached securely to the glass. If not, repairs should be made before continuing with the installation. The next step is to remove the manual regulators from the doors. Have an assistant hold the glass so it doesn't fall and break.
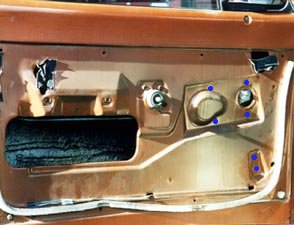
First the 4 bolts that hold the regulator are removed and then the 2 bolts holding the lower glass channel and wing window are removed. These 6 bolts have been marked in blue. Next remove the three screws along the front edge of the door. With the window in the down position rock the wing window assembly backwards and then up and out. With the wing window removed from the door, the regulator is ready to be removed.
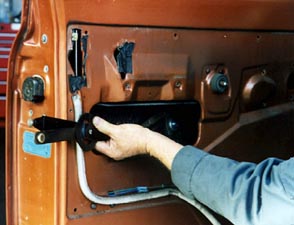
Slide the regulator forward until it falls off the window track and the door track. Then slide it backwards until the rear slide comes off the track. Slide the regulator assembly out of the large access hole in the door. With the regulator out of the door smear a small amount of grease on the tracks on the glass and the door. This will ensure smooth quiet opperation of your new power windows.
