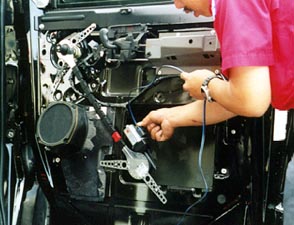
The foam pads should be placed between any parts that may rattle. With the mechanical part of the installation finished, the wiring needs to be completed. The wireloom must be run across the underside of the dash and held up with wire ties. Tie the power wire into an appropriate power source and connect the ground wire to a good clean ground point.
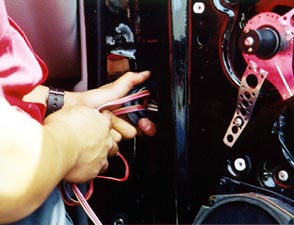
Whenever possible the wires should be run into the door through the existing wiring boots. If this is not possible then holes should be drilled in the doorjambs and grommmets placed in the holes. It is important to use grommets or wire boots to prevent the wires from becoming chaffed and shorting.
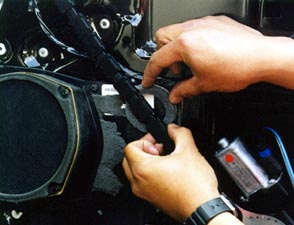
The wireloom is connected to the motor wires and the switch wires are run to the aproximate position of the switches. Be sure to the wiring to the door and keep it away from any moving parts.
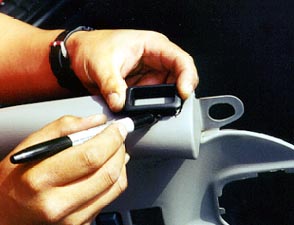
To mount the Colibri Star switches an appropriate place with ample mounting depth (aprox. 1 1/2 inches) must be chosen. The mounting ring is used to mark the panel. If there is not a place available with ample mounting depth, the Colibri Plus should be used. The Plus kit has it's switches mounted in a bezel that sits on top of the door panel.
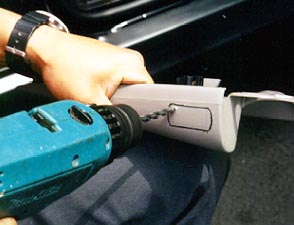
The holes for the switch mounting rings are drilled and cut out with a hacksaw blade or a Dremmel tool.

The switch ring is then snapped into the hole and the switch is snapped into its ring.
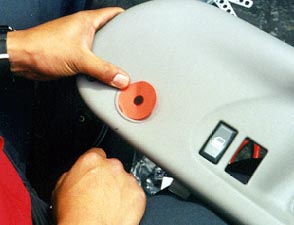
The holes for the hole plugs are then marked and cut out with a file or other appropriate tool.
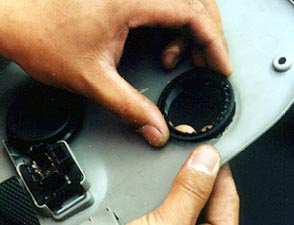
The hole plugs also have a mounting ring that must be mounted to the panel prior to the plug using the toothed retainer.
Choose the shortest hole plug that will cover the shaft without interfering with it. The hole plug is then pressed into it's retaining ring.
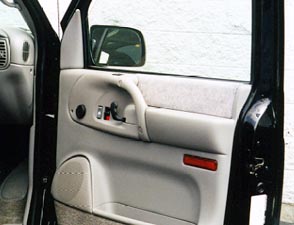
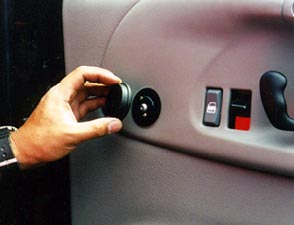
This is what the instalation looks like completed. It looks and works great!
